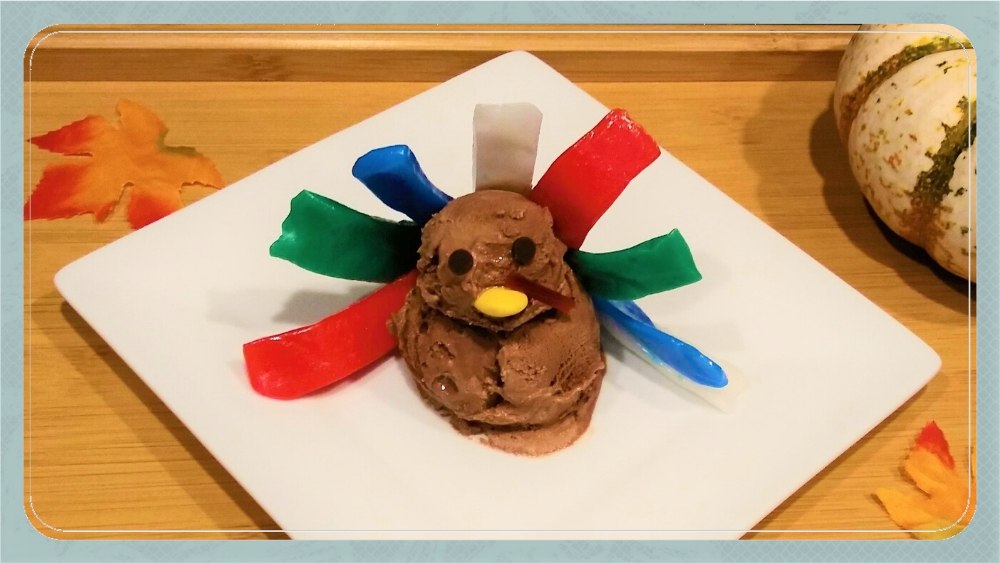
Looking for an easy and fun dessert that the kids at your Thanksgiving celebration will LOVE? These adorable ice cream turkeys will be the talk of the party!
We had so much fun making our ice cream witches and wizards that we decided to make ice cream turkeys! And we will be making Santas and Grinches before you know it.
You can make these easy ice cream turkeys any time during the month of November, or save them to go along with your Thanksgiving Day pies! The kids will love having an edible craft to keep them occupied while you make your last-minute touches for your feast.
This post may contain affiliate links. You can read our disclosure policy here. Thank you for supporting our family business!
How to Make Ice Cream Turkeys
Makes about 7 ice cream turkeys
You’ll Need:
- Wax paper
- 2 cookie sheets
- 1 large and 1 small ice cream scoop
- 1 48 fl oz. tub ice cream (I used chocolate, but vanilla would go better with pie)
- 1 bag of mini Airheads (12 oz. bag)
- 2 mini chocolate chips
- 1 inch-long strip from a Twizzler
- 1 yellow or orange M&M
- kitchen scissors
- 7 small plates for serving
- toothpicks (optional)
Note: If you make all seven turkeys at once, you are going to need a lot of empty freezer space!
Steps to Make an Ice Cream Turkey
- Line two cookie sheets with wax or parchment paper. Scoop 7 large balls of ice cream and place them a couple of inches apart on the parchment paper. Flatten the tops of the large scoops a bit with a spoon so the turkeys’ “heads” will fit on top better.
- Use the smaller ice cream scoop to scoop an ice cream ball for a turkey head. Place it on top of a large ice cream ball. Repeat for other “turkeys”. Together, these make up the turkey bodies.
- Freeze the ice cream scoops for 2-3 hours. DO NOT SKIP THIS STEP or your turkeys will melt before you even make the face!
- While the ice cream is freezing, open 4 Airheads of different colors. Use kitchen scissors to cut each of them in half (vertically).
- Arrange the 8 Airhead pieces into a fan-like shape for a tail. I put mine in a color pattern, too. Press the bottom ends of the airhead pieces together to make them stick together, as shown in the picture below.
- Remove one ice cream turkey body from the freezer and put it on a serving plate.
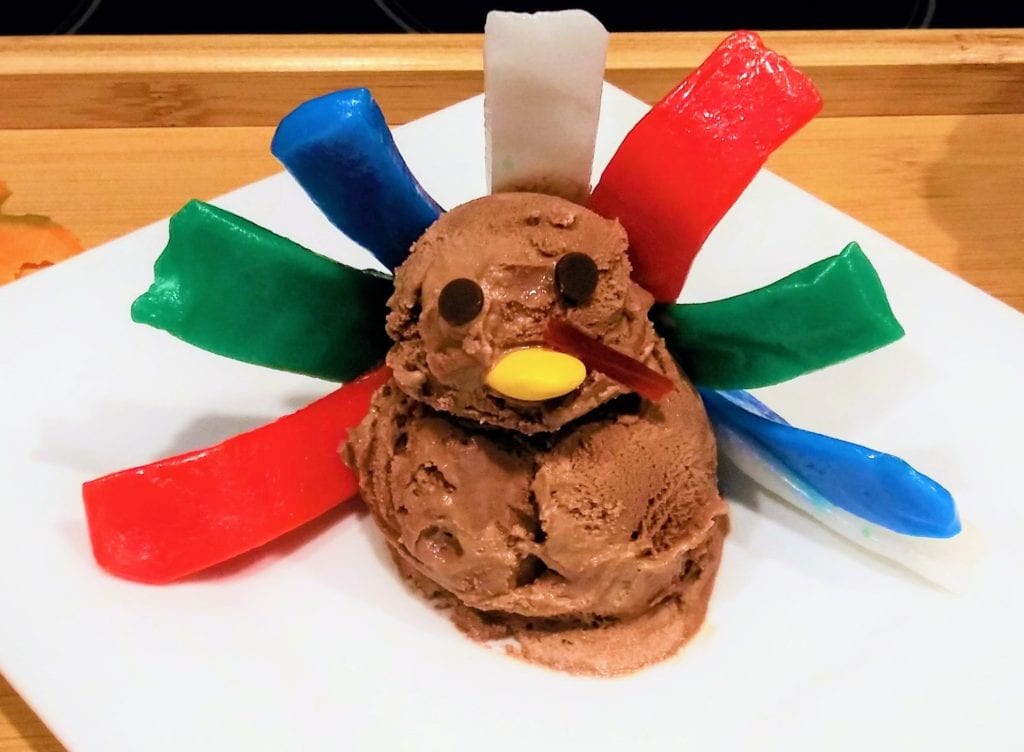
- Press the mini chocolate chips in the head for eyes, then the M&M for the beak, and then the Twizzler piece for the gobbler.
- Gently press the Airhead tail feathers to the back of the turkey body. You can curve the tips of the Airheads backwards if you like.
- Immediately return plate to freezer until serving time.
- Repeat steps 4-9 until you’ve made all your turkeys!

Don’t forget to plan ahead so you have plenty of time to let the Turkey bodies freeze!
Dress up your table with our printable Thanksgiving name cards, cute Charlie Brown Thanksgiving quotes, or this beautiful autumn leaf banner.
The kids will love having their ice cream turkey creations displayed in a special area before they dig in!

We hope these yummy ice cream turkeys add some joy to your Turkey Day party!
-Mariah
Looking for more Thanksgiving recipes? Don’t forget to include these AMAZING candied sweet potatoes or Dutch Apple Pie in your Thanksgiving spread!
Trackbacks/Pingbacks