Quilling is one of my favorite hobbies! It can be pretty time consuming, but the payoff is huge. There are so many designs you can make just by rolling paper!
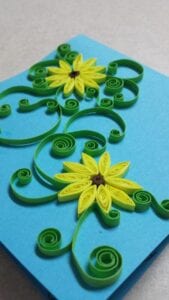

The cool thing is that the actual technique is pretty easy; you just need the right tools and a little bit of patience.
The classic heart shape is simple to make and adds a cute touch to any card or gift. I’ll show you how to make one in just a few easy steps.
**This post contains affiliate links, so I’ll get a small commission on purchases at no additional cost to you. Thanks for supporting This Blue Dress!
You’ll need:
*slotted tool
*needle tool
*extra sharp tweezers
*2 strips of quilling paper or card stock (cut in very thin strips) of equal size.
*glue
When I started quilling, I purchased the Quilled Creations Beginner Kit which includes all of the needed materials.
I used card stock for this heart, so you’ll notice a bit of a frayed edge in my pictures. Quilling paper has smoother edges, but it is also more delicate. Both kinds of paper work great.
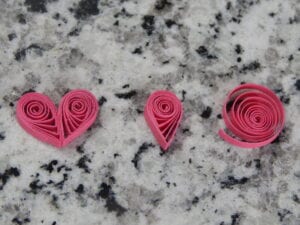
Quilled Heart Tutorial
First, insert the edge of your paper into your slotted tool.
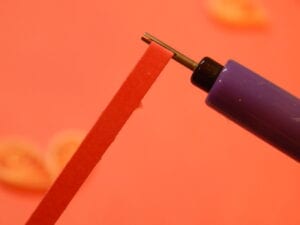
Using your fingers for support, carefully roll the paper into a tight circle. It’ll look like this when you have reached the end.
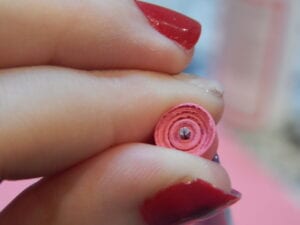
While maintaining pressure of the edge of the circle, carefully pull the slotted tool out of the middle.Release the circle and let it open to its fullest size. This is called a loose coil.
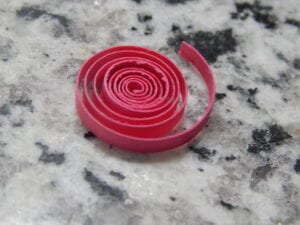
I like to tear the clean edge off of the end of the coil so that when you glue it later, it won’t stick out as badly. After this, pinch the edge of the circle and form a teardrop shape.
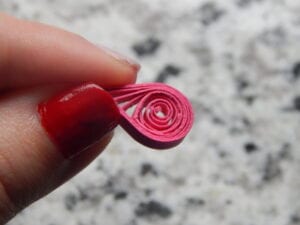
Using your needle tool (or something very sharp, like a toothpick), put a dot of glue on the end of the strip of paper. Pinch the glued end tightly with your sharp tweezers to seal the glue.
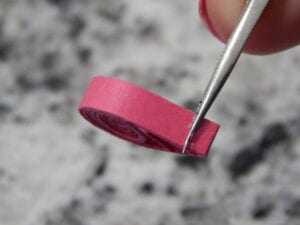
You’ll end up with a teardrop shape like this!
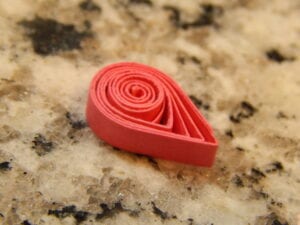
Repeat the steps to make an identical teardrop.
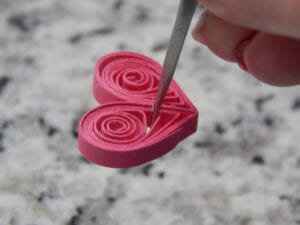
When you have two teardrops, put them side by side to form a heart. Then put a little glue on your needle tool and line the edge between the two teardrops. Hold together with your tweezers for a minute until dry.
There you have it! You can squeeze the bottom to make it pointier if you want. 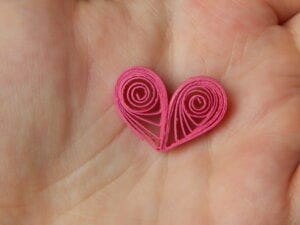
(Sometime you’ll notice a little bit of bending in the spiral of the shapes. You can easily fix this with your tweezers.)

If your teardrops weren’t perfectly identical, it’s ok! It adds a little character to the heart.
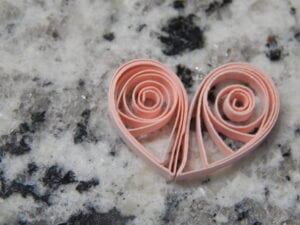
Show us what you used a quilled heart for!
Love,
Want more Valentine’s Day ideas? Check out our Holiday Traditions Board!

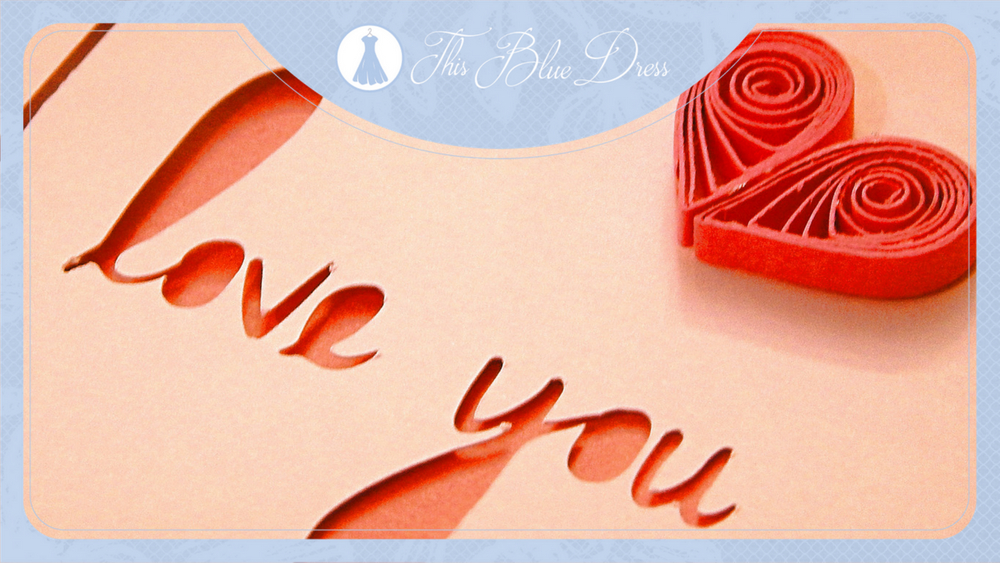
What an amazing little crafting idea! It’s not too late for me to make these last minute for some of my favourite people for Valentine’s Day!
Emily, it is definitely not too late! You’ve got this 😉 Thank you for your feedback!
Aww this is so cute! I might make one for tomorrow since it’s easier than I thought.
Thank you so much, Marissa! You totally have time to whip one of these up. 🙂 Your loved ones will love it!
How cute. I’ve always wondered how people make these! You’re super talented, I’m not sure I’d have enough patience!
You’re making me blush! Thank you! I’m so glad you like it. Quilling does take a lot of patience, but once you start it is hard to stop. If it interests you, you should totally give it a try. It’s a pretty cheap and fun hobby 🙂
This looks like such a pretty craft to do, would make for the perfect addition to a card or special gift.
Raina, thank you so much for your comment, and welcome to This Blue Dress! 🙂 I hope you give quilling a try. Little quilled shapes like this are some of the easiest embellishments you can make for a project.