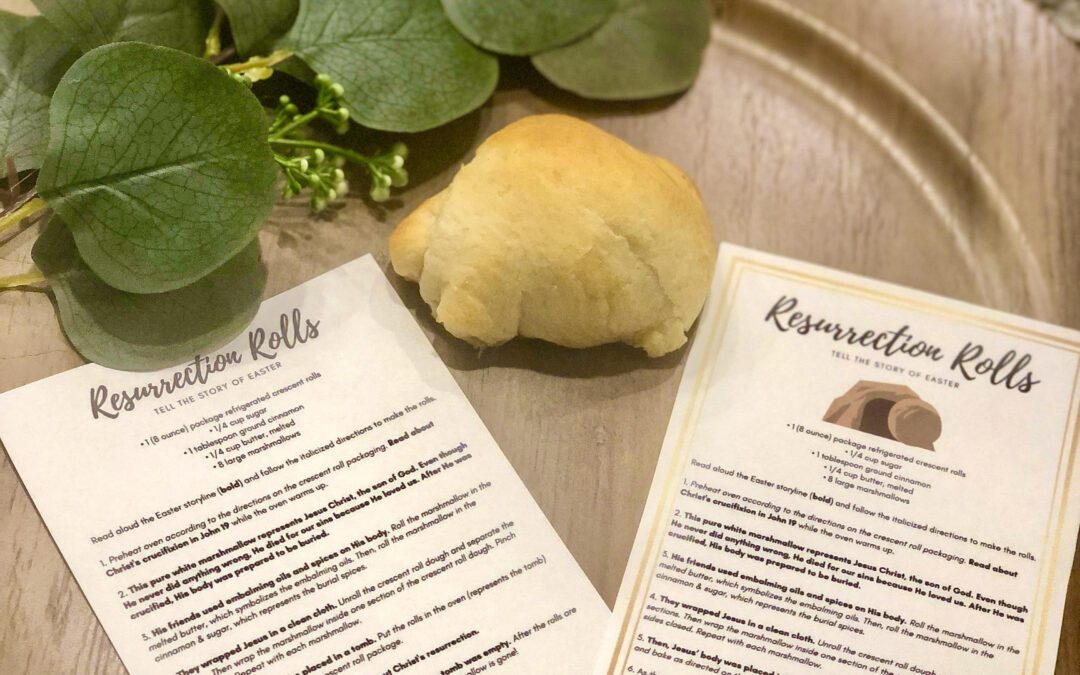
This is a sweet, hands-on tradition to tell the story of Easter. Perfect for use for a youth group or church activity, at home, or for a meaningful Easter gift.
Hi, welcome to our guide to making Resurrection rolls, a popular Easter tradition! You’ll find everything you need here: an ingredient list, step-by-step directions, and a few tips!
If you’re looking for our Resurrection roll printable, check out our Etsy Shop.
What Are Resurrection Rolls?
Resurrection rolls are both a treat and an activity. Each step of making the rolls represent a portion of the story of the Savior’s crucifixion and resurrection. Children will be amazed at discovering that the marshmallow, which represents Jesus, will no longer be inside the rolls after being baked.
This activity is so great for so many reasons!
- It’s simple, so people of most ages can enjoy doing it
- It’s meaningful and helps children learn about Jesus’ last days
- It’s hands-on, but doesn’t require a lot of movement, so those with limited mobility can participate
- It gets everyone into the scriptures!
- This can be done and shared with Christians across many faiths
- The end result is actually super delicious.
Tips
- To Use Mini or Large Marshmallows? It’s up to you, because they both work. The rolls will look more like an actual crescent if you use mini marshmallows and are a bit easier to work with. But to us, it’s worth it to use the the larger marshmallows. The end shape will be rounder and more “tomb-like”, and there’s also more marshmallow-y goodness to melt into the roll. So for this post, we recommend using the larger marshmallows. You will have to stretch and pinch the dough a bit more to get it around the marshmallow.
- What if my kids don’t like getting their hands dirty? We recommend using a food glove! This might be a good idea anyway, especially if your group consists of lots of young kids
- How do you make this activity a gift? Grab a cute basket or container and fill the bottom with crinkle paper or pretty tissue paper. Carefully arrange the supplies to make Resurrection Rolls inside the basket. Include some Easter eggs filled with treats or sweet notes as well, if you wish! Place the basket in a large clear bag and secure the top with some string. Attach a cute bow and a smaller version of our printable to the gift basket, and you’re done! And remember, because the ingredients need to be refrigerated, you’ll need to hand-deliver the basket and make sure everything is kept to a safe temperature.
*If there are any tips or questions you have for us, please message us! We love to hear feedback.
How to Make Resurrection Rolls
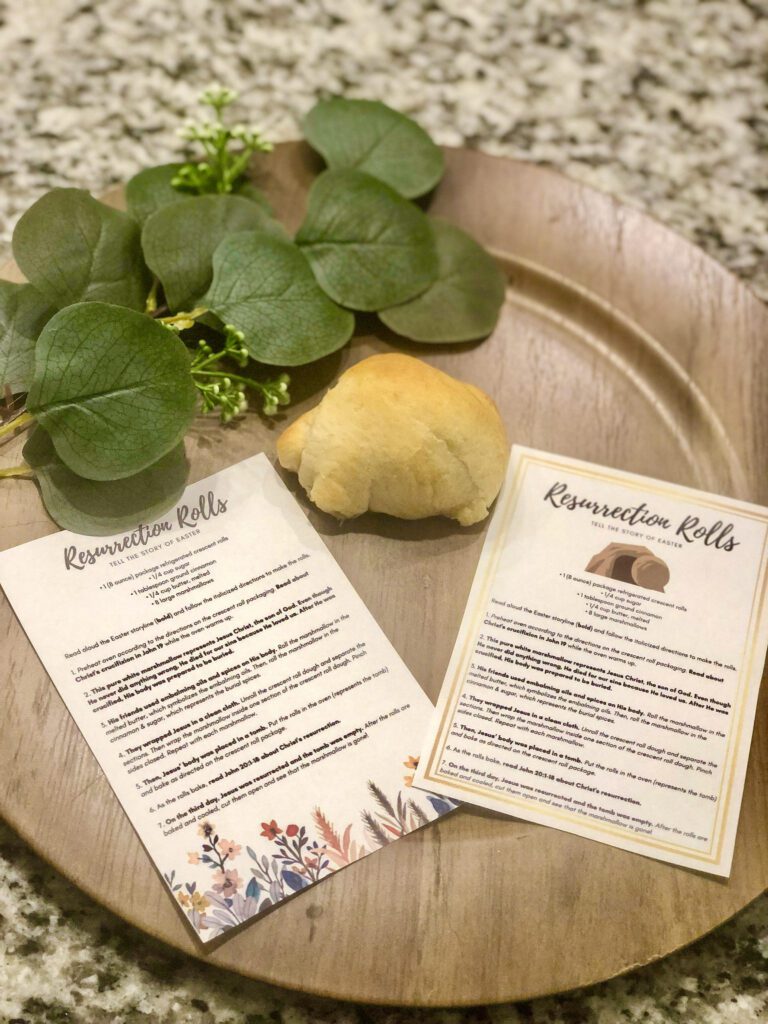
Continue to the recipe and step-by-step instructions below, or visit our shop on Etsy to get one of our handy recipe printables, which includes both the ingredient list and the step-by-step directions for making the rolls. Choose either a sweet floral print or our best-selling empty tomb print. You can laminate them and use them year after year in your home!
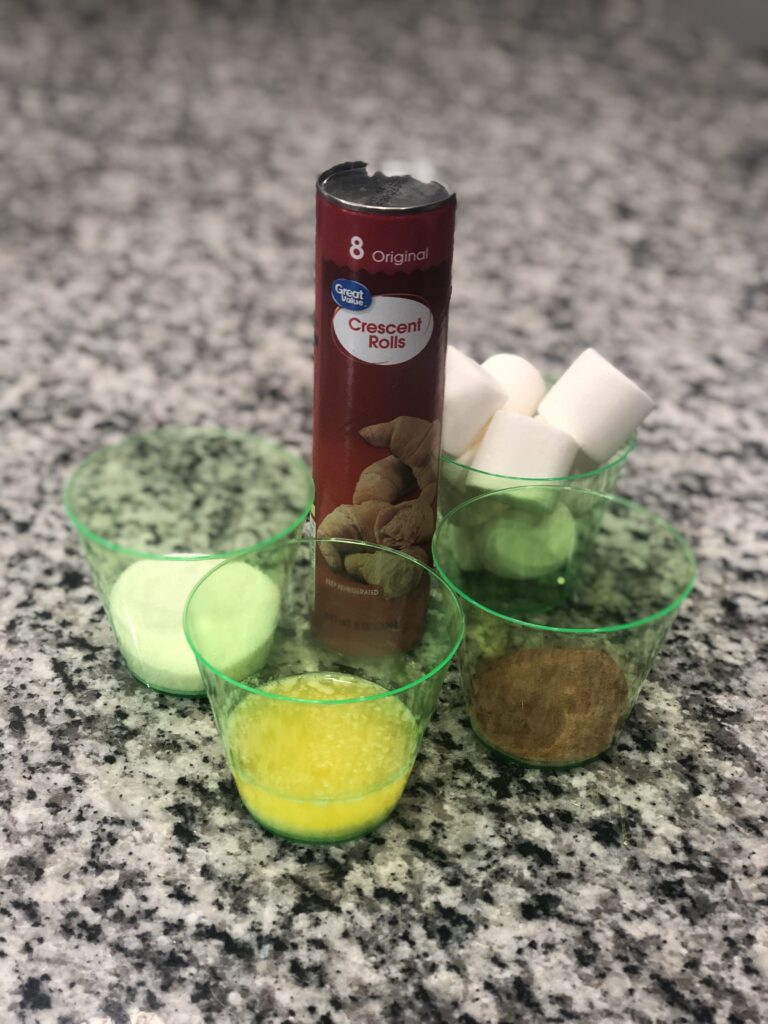
You’ll Need:
• 1 (8 ounce) package refrigerated crescent rolls
• 1/4 cup sugar
• 1 tablespoon ground cinnamon
• 1/4 cup butter, melted
• 8 large marshmallows
Resurrection Rolls Activity
Read aloud the Easter storyline (bold) and follow the italicized directions to make the rolls.
1. Preheat oven according to the directions on the crescent roll packaging. Read about Christ’s crucifixion in John 19 while the oven warms up.
2. This pure white marshmallow represents Jesus Christ, the son of God. Even though He never did anything wrong, He died for our sins because He loved us. After He was crucified, His body was prepared to be buried.
3. His friends used embalming oils and spices on His body. Roll the marshmallow in the melted butter, which symbolizes the embalming oils. Then, roll the marshmallow in the cinnamon & sugar, which represents the burial spices.
4. They wrapped Jesus in a clean cloth. Unroll the crescent roll dough and separate the sections. Then wrap the marshmallow inside one section of the crescent roll dough. Pinch sides closed. Repeat with each marshmallow.
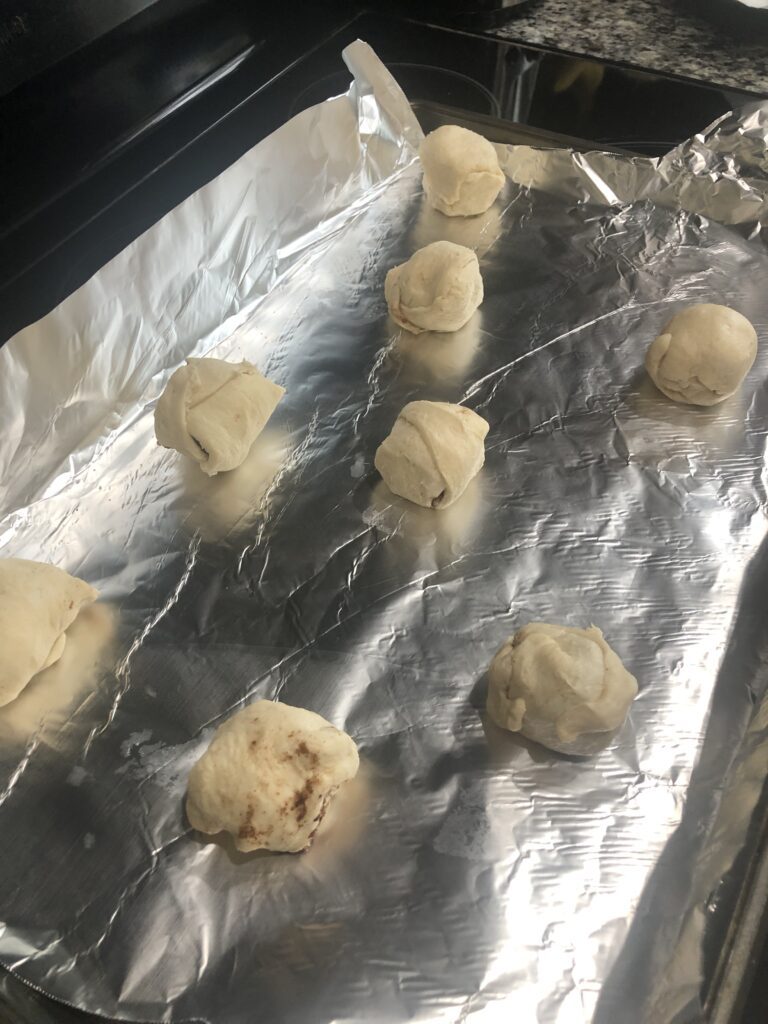
5. Then, Jesus’ body was placed in a tomb. Put the rolls in the oven (represents the tomb) and bake as directed on the crescent roll package.
6. As the rolls bake, read John 20:1-18 about Christ’s resurrection.
7. On the third day, Jesus was resurrected and the tomb was empty. After the rolls are baked and cooled, cut them open and see that the marshmallow is gone!
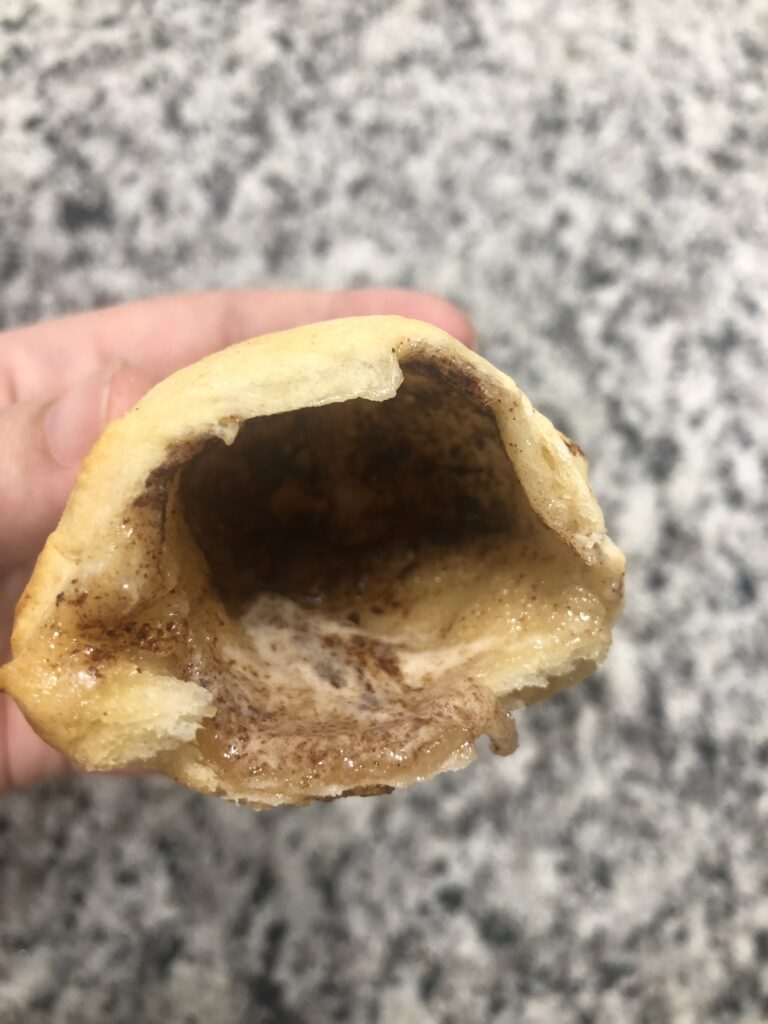
Like we said, this activity is awesome and delicious, and we can’t wait for you to try it out with your family and friends. If you had fun in the kitchen together, try making one of our three easy Easter cupcakes!
We hope you have a very Happy Easter!
With Love,
The Crouch Sisters
If you couldn’t tell from our post, did you know we’re Christian? We love and worship Jesus Christ as members of the Church of Jesus Christ of Latter-day Saints. If you want to hear more messages of hope and Christ this Easter season, tune in for an online General Conference (new 2024 sessions on 4/6 and 4/7)

