**This post contains affiliate links, which means we may get a small commission based on your purchases at no extra cost to you! Thanks for supporting This Blue Dress!
To go along with this month’s theme of all things Food (insert very large cheesy grin because food is the BEST!), I thought I’d give a quick run down of MaLee’s wedding and groom’s cake and give you tips for making your own lovely wedding (or any occasion) cakes!
*Side note, it’s pretty perfect that June is food month and my birthday month! Thank you sisters for giving my birthday month the BEST theme!!*
For MaLee’s birthday in January, I made this triple chocolate birthday cake by the cake goddess Cake by Courtney. MaLee loved it! It was a huge hit! (Also, my very first cake so the pictures are a little scary).
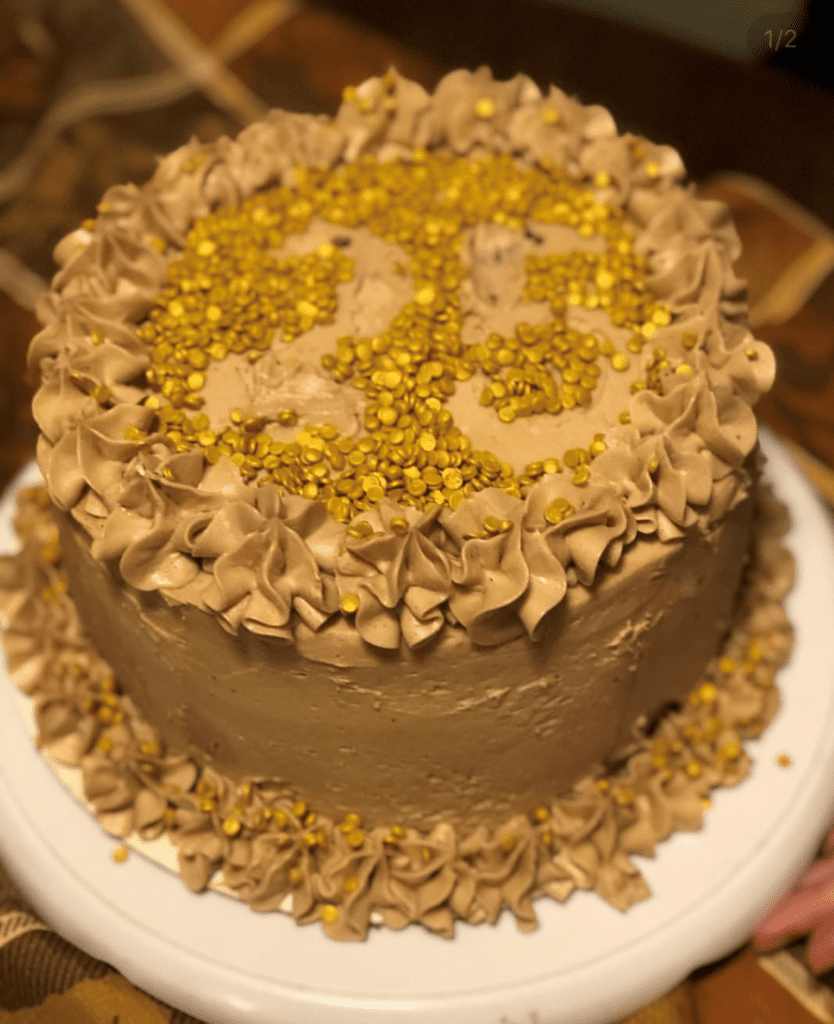
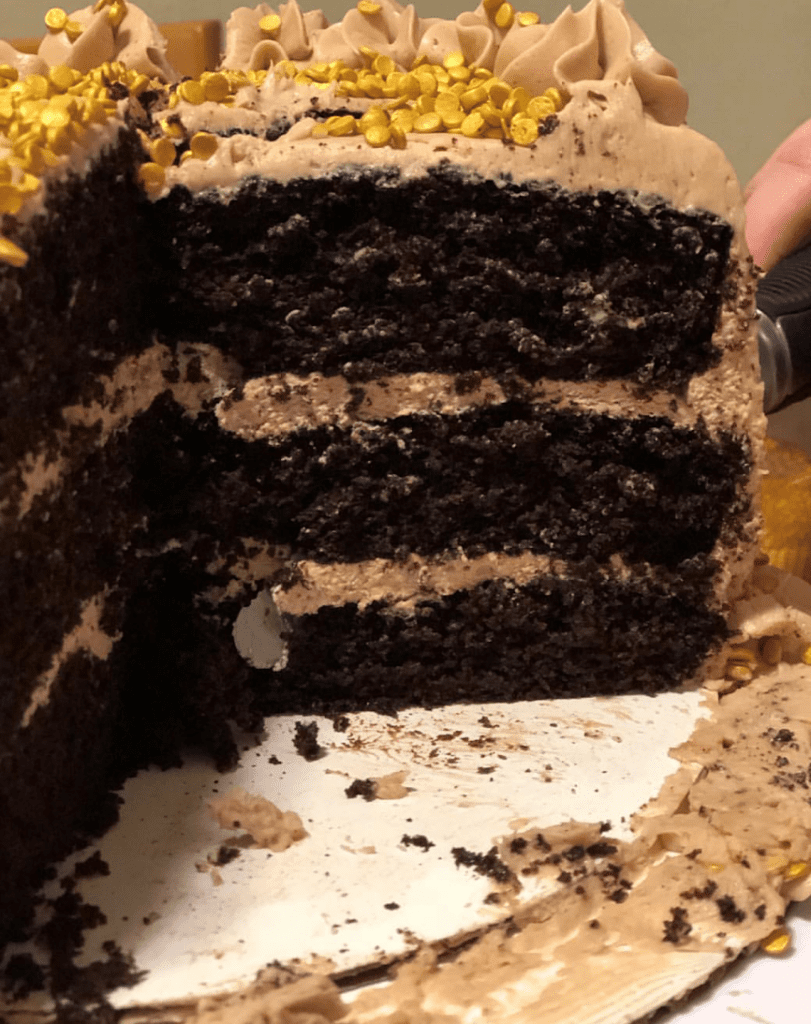
The frosting is a little rough, and it should definitely be darker than the mousse inside, but I learned some valuable lessons! For one, I needed to buy a good scraper: CHECK, and I needed to add more chocolate chips to the buttercream: CHECK, we are always down for more chocolate! I also added more mousse to the layers in later editions but for my first cake I was very pleased with how it turned out!
Fast forward a few months down the road to talking MaLee’s wedding plans! I had assumed that MaLee would ask Makayla’s sister-in-law (and long-time family friend) to make her cake because she did such an amazing job on Madison’s groom’s cake and Makayla’s wedding cake.
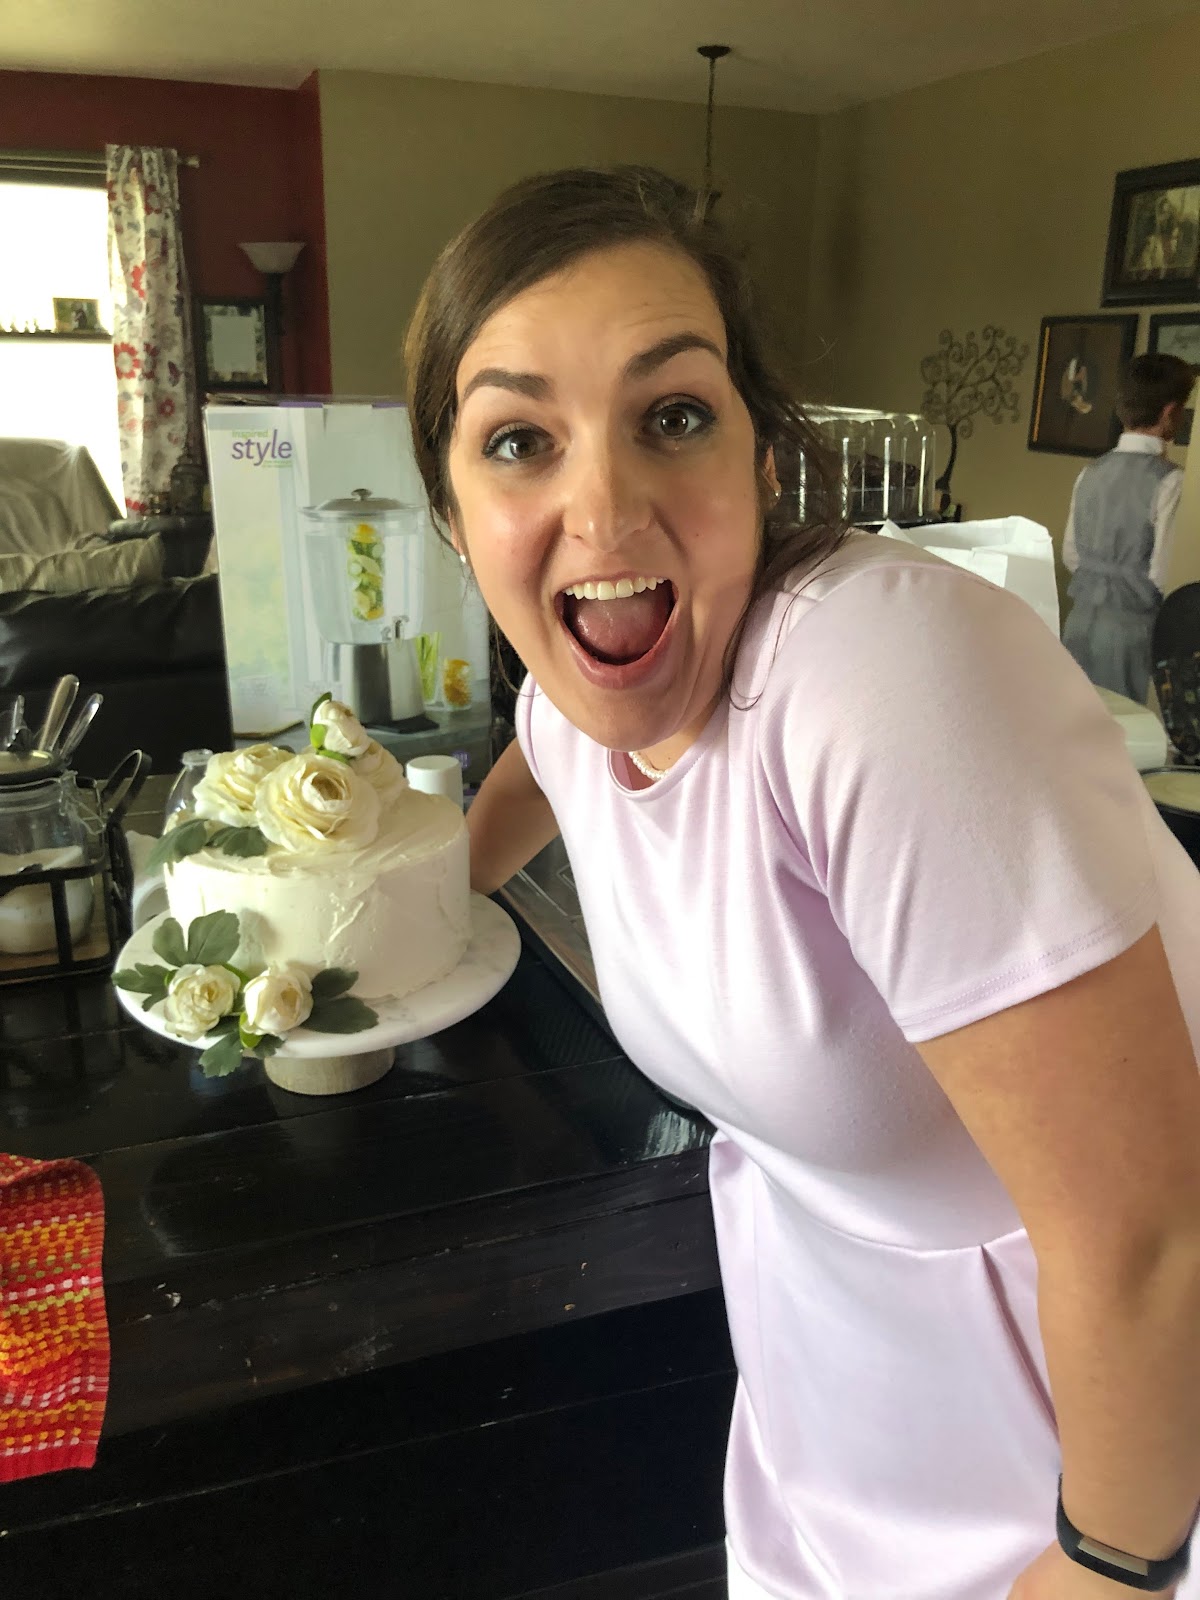
MaLee dropped the bomb that she would like ME to make both cakes! I started internally freaking out while asking her if she was completely positive. She was. Brave girl. She wanted the same chocolate birthday cake but with a white buttercream. *Cue even more freaking out since I had yet to make a cake without catching a few crumbs in the frosting. And ain’t nobody want dark chocolate crumbs in their white buttercream* She also wanted Courtney’s churro cake for Taylor. (He LOVES churros so when we found this cake we knew it was the one!) When I got home and started talking things through with my husband, I realized that this was my chance to purchase all the cake things I had on my wish list as “necessities” since I would be making a freaking wedding cake! I bought a storage box, labeled it Cake Things, and got to buying!
I made SEVERAL practice cakes! I did not remember to take pictures of all of them and some of them did not turn out at all! Cut to the big day, or big week which would be more accurate. I bought enough ingredients in Missouri to make a double batch of each cake. I also made another practice cake to help get used to the differences in Missouri like humidity, ovens and so forth. The practice cake turned out great, but I left it out on the table for a few hours and….IT MELTED. The mousse slid off like pudding and the layers completely fell apart. So lesson learned there, keep it nice and cool at all times!!!!

The wedding was on Saturday, so on Thursday I baked all the layers. I baked 12 cake layers, 6 dark chocolate and 6 churro. I wrapped those in plastic wrap, after they had cooled, and put them in the fridge for safe (and cool) keeping. Friday I made the frosting and assembled the cakes. So my stress level was very, very high. I’m pretty sure my hair frizzed and poofed more than normal simply from the levels of stress radiating off of my body.
I also made these churro bites for the churro cake. The cakes were assembled, wrapped in a loose layer of plastic wrap and put in the fridge. We drove to the hotel that night in Iowa since the wedding was in Nauvoo, IL, and I was left to fret about the cakes until I could see them with my own eyes again.
When we got back to Missouri, (after saying prayers of pleading the whole way back (Please let them be assembled and not melted. Please oh please oh please*.), I raced over to the fridge and let out a large and loud sigh of relief. They were still together!! And they didn’t look half bad! I put the finishing touches on and put them, can you guess?, BACK IN THE FRIDGE! I was not going to let these things melt on my watch! Two minutes before the official cake cutting, I brought the cakes outside to the reception, and after they had been cut I rushed them back inside to the fridge. (MaLee had cupcakes to serve all the guests, she wanted the cakes saved for family.)
Wedding Day Cake Pictures
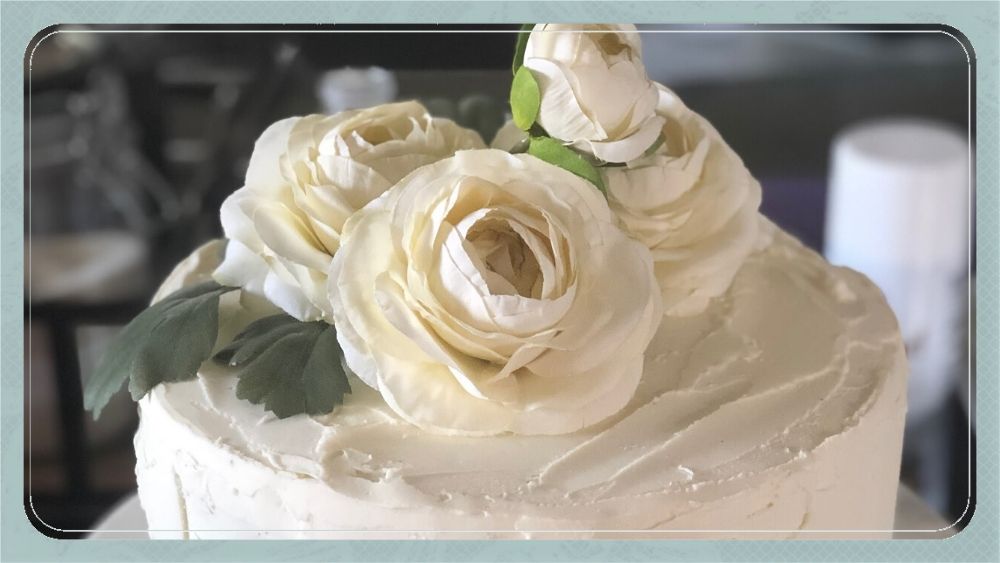
The day of with the completed wedding cake! Inwardly crying tears of pure joy and relief.
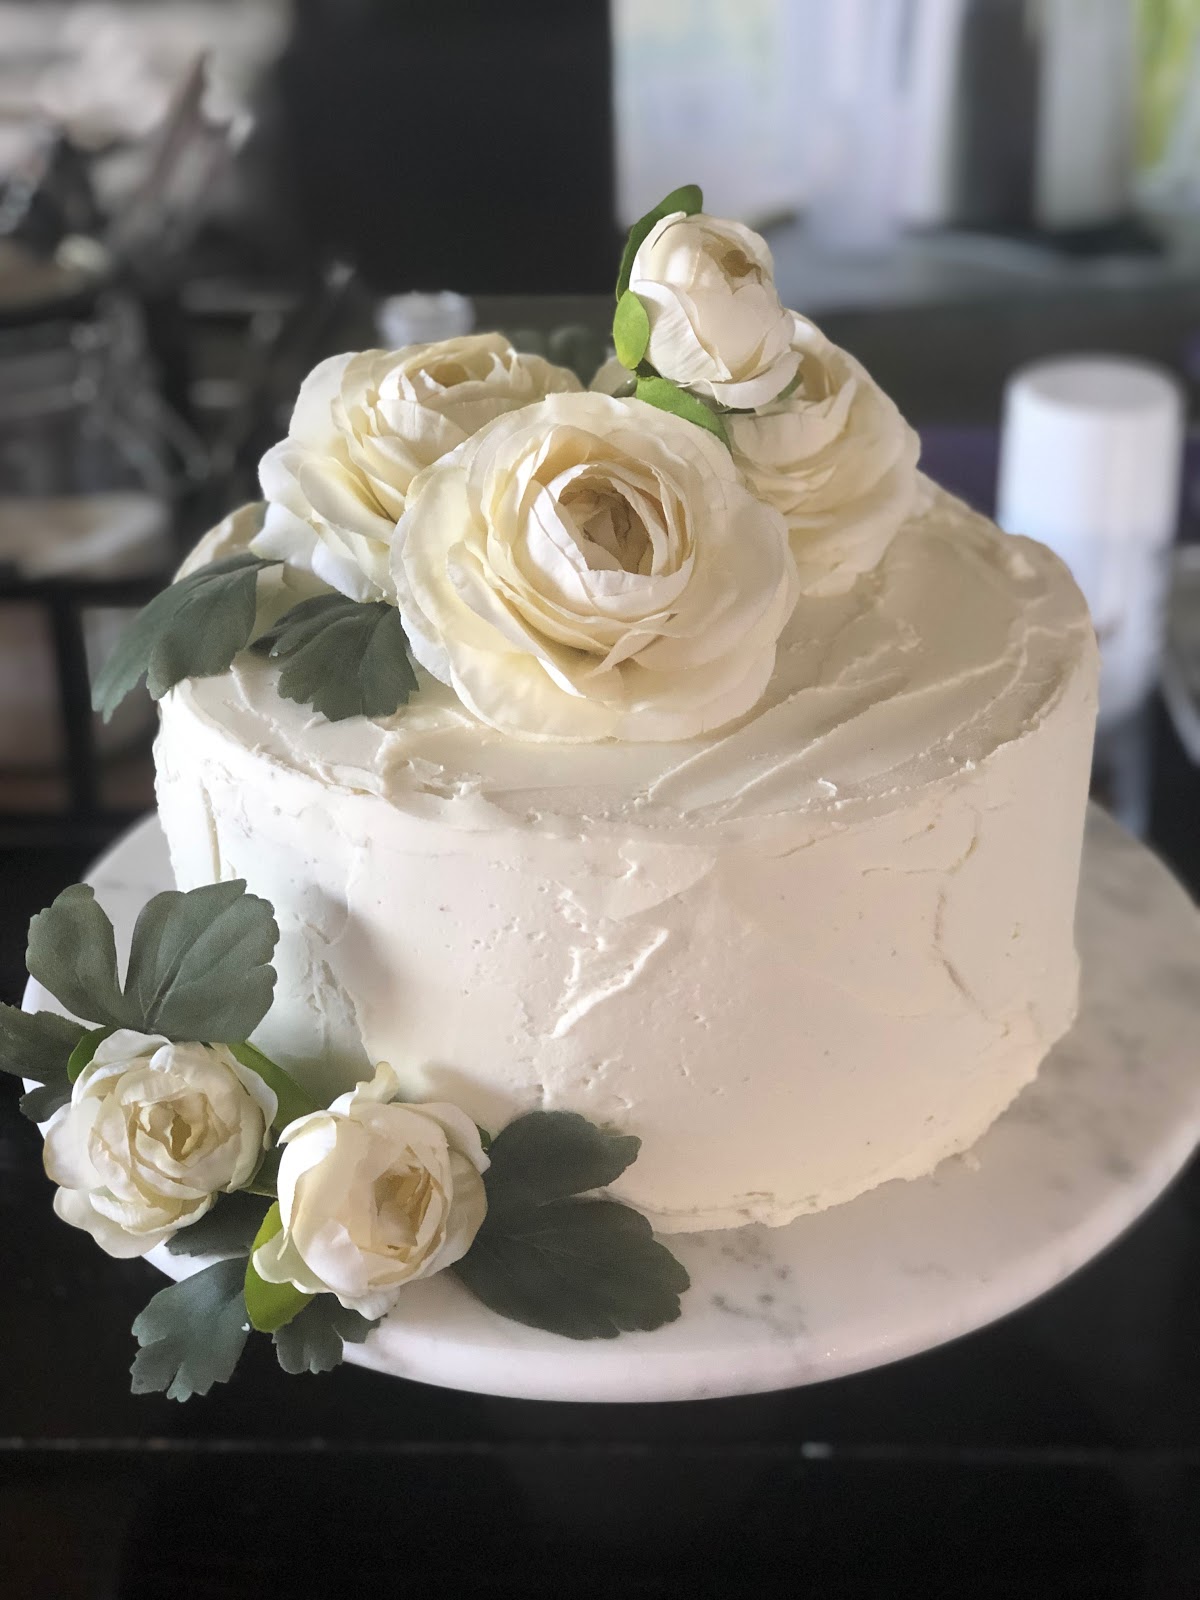
The final product! I am very proud of that dang cake.
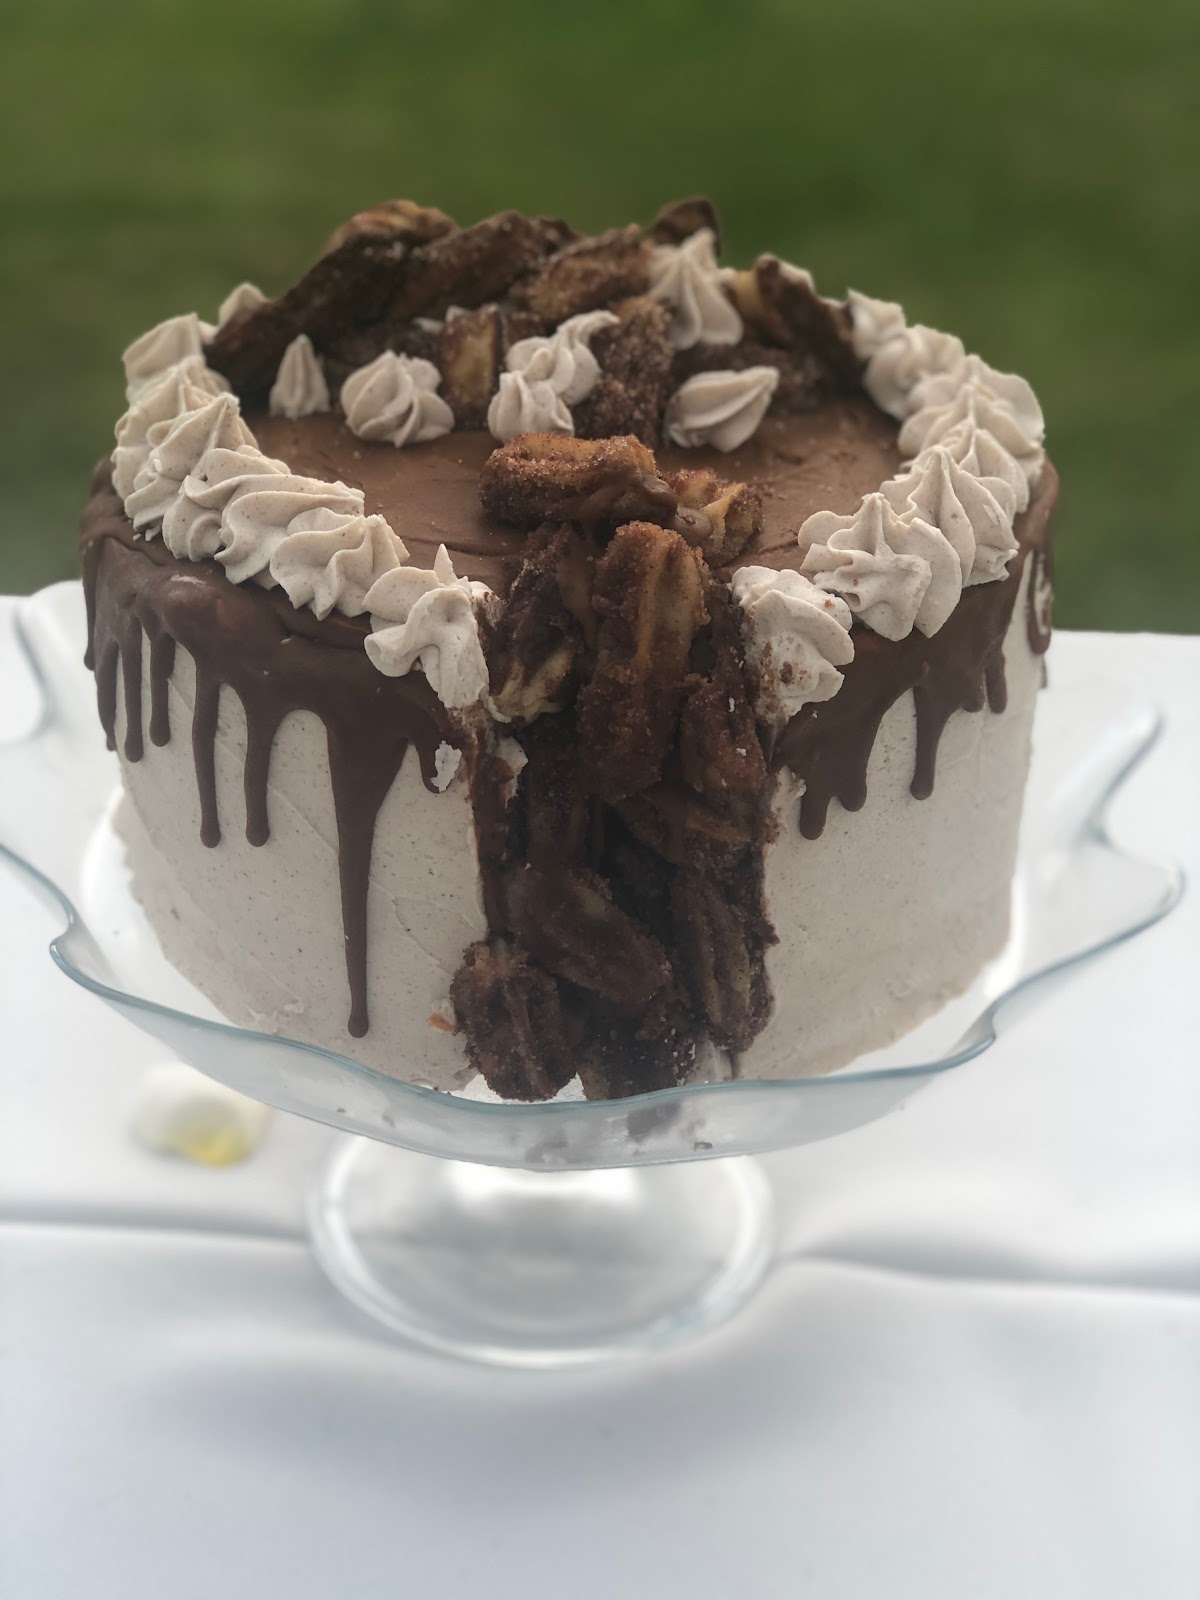
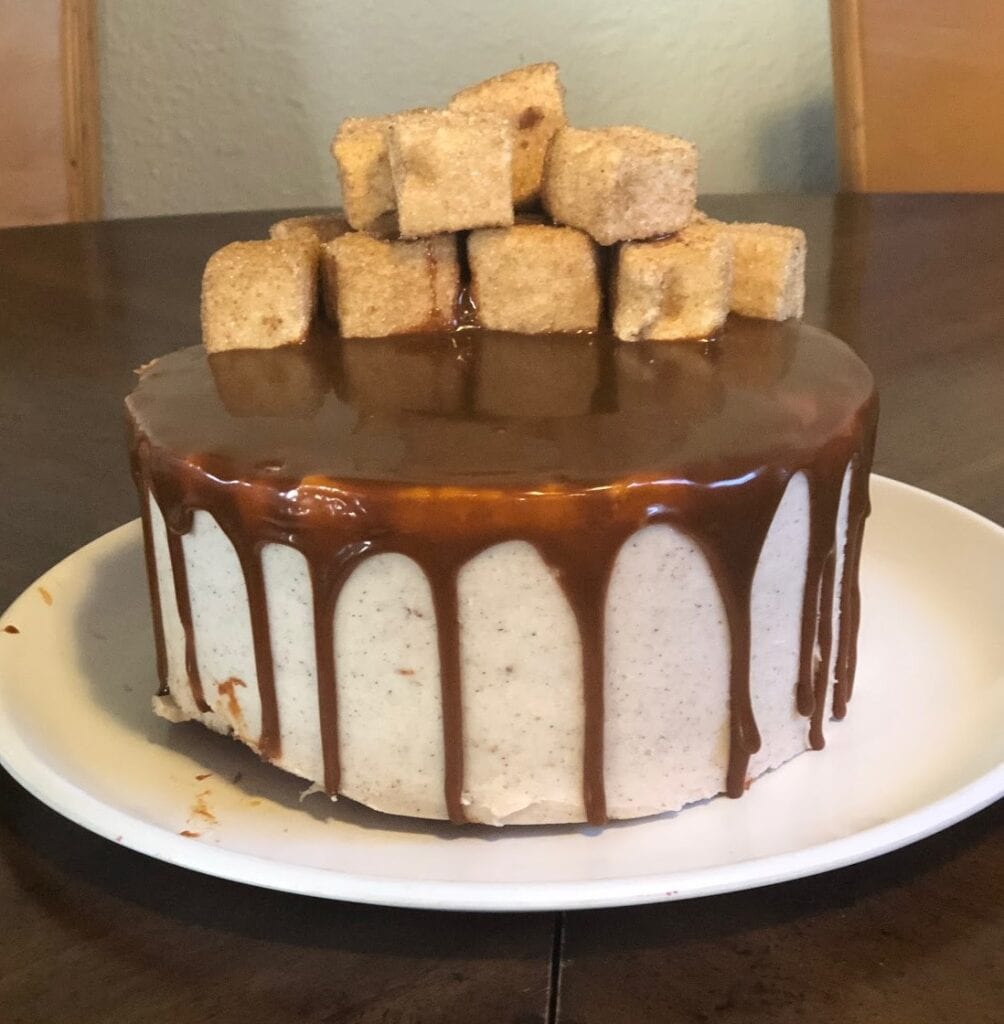
The final churro cake. We cut out one slice and filled it in with frosting and churros for a fun look. I didn’t get to practice that particular element as much as I would have liked, but overall I am still happy with it.
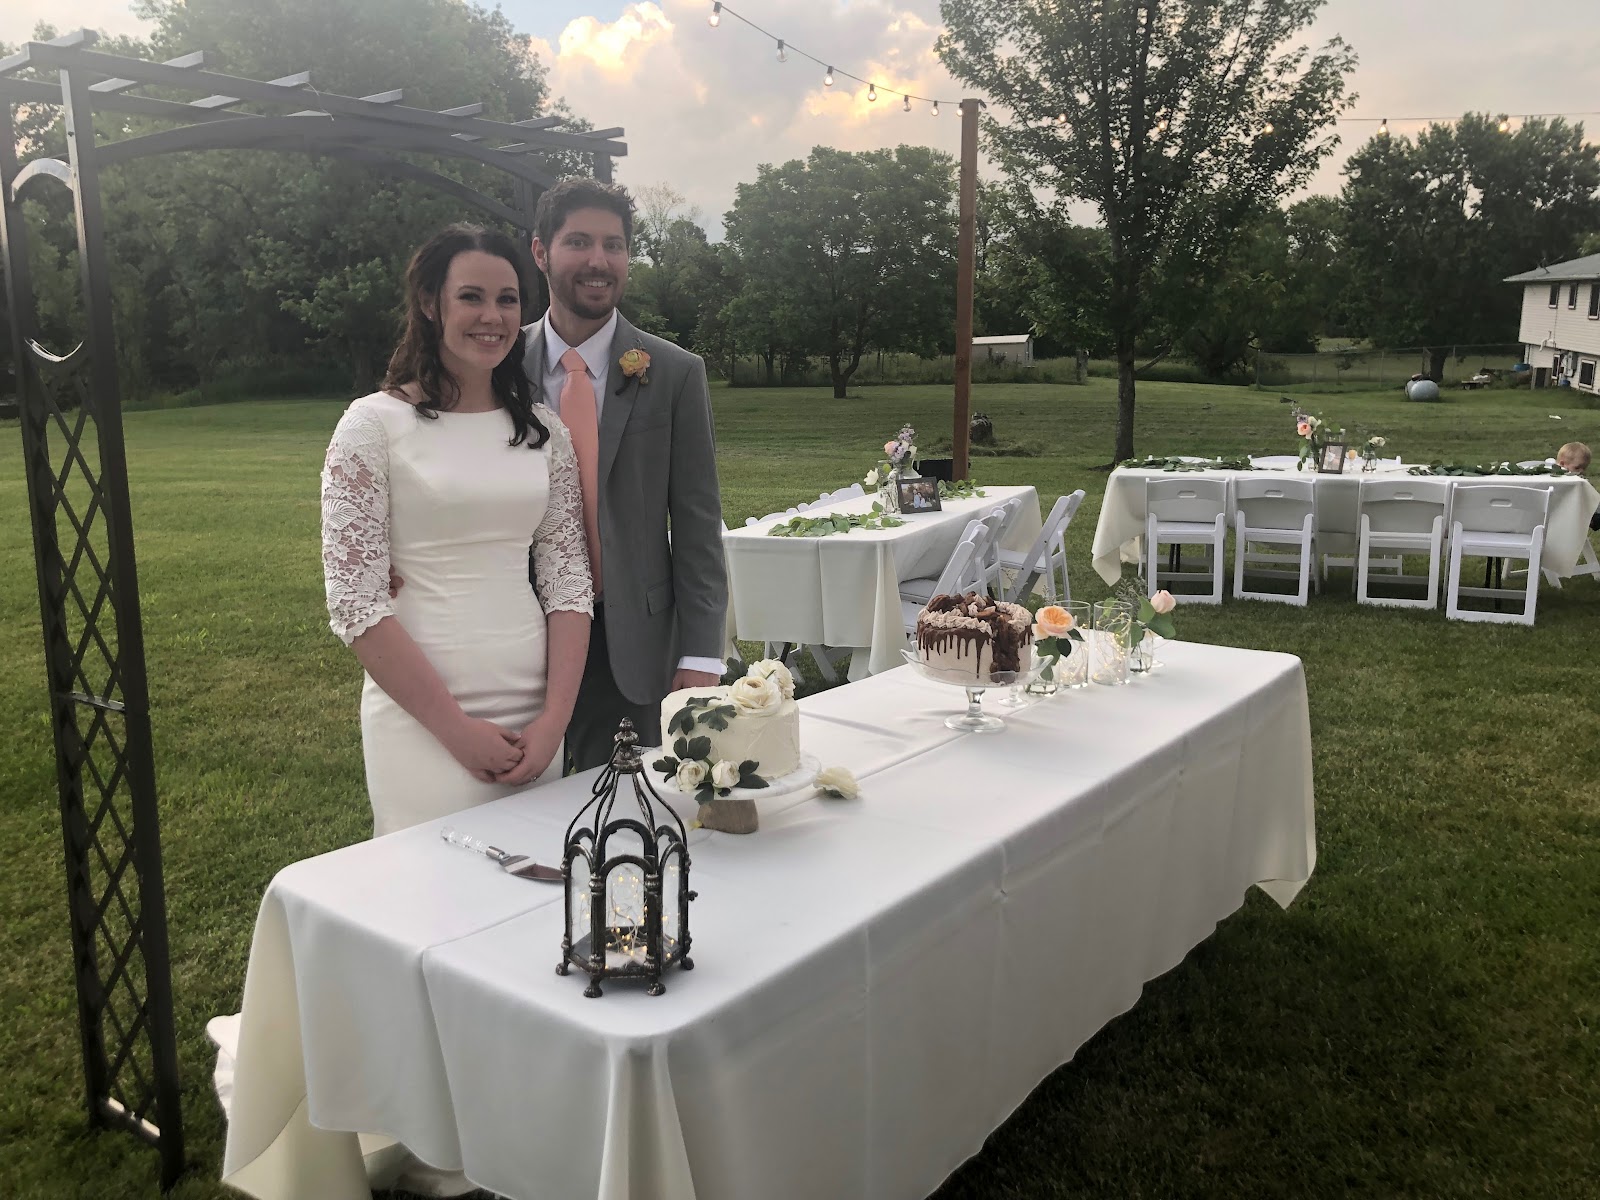
The BEAUTIFUL newlywed couple with their cakes!
Supplies I Used
To get my cakes level I used this leveler.
To smooth my frosting I used this scraper.
I used both of these spatulas, but I used the angled one more.
I used this lifter to move my cakes around.
And these piping bags for any piping work I did.
I did use an acrylic disk on top of my cakes to help get my frosting smoother and even and keep my cake level.
For the drip, I used this condiment bottle.
I used this turntable for frosting convenience.
Tips
- I had much more success with my crumb coat when I froze the cake in between putting the mousse in between the layers and putting the crumb coat on. Before I tried doing that, I had mousse squishing out of the layers and seeping into the crumb coat.
- I also learned to put on my acrylic disk after freezing the crumb coat! Trying to do it before would lead to a cake catastrophe of my top layer being pulled to shreds when removing the disk. Not a pretty situation.
- The churro cake recipe calls for the cinnamon ganache and the cinnamon buttercream to be used as the filling, but that was a little sweet for our blood. So I made a double recipe of the ganache and made a ganache mousse like in the chocolate cake. That got a much more positive reaction from my family.
- Courtney suggests using SmashMallow cinnamon churro marshmallows as a topping, but we are way too unhealthy for that haha so I made churro bites (the recipe I linked is for 3 inch churros, but I made them a little smaller than 1 inch.)
- For the mousse, the whipping cream and gelatin sets in a split second. It will go from still too warm to completely set all of a sudden so you have to babysit that thing and stir a lot to avoid a lumpy mousse.
- I also whipped the other whipping cream a little more than I thought it needed so I would have a stiffer mousse with less leakage.
- White vanilla really does work wonders!
- If you don’t have white vanilla, you can use a VERY VERY VERY tiny amount of purple food dye and it will act like a purple shampoo and make it whiter! It’s incredible, like magic.
- To avoid frosting breakage or slippage when transferring, I kept an 8- inch cake board underneath my cakes while assembling for more stability when transferring. So to clarify, I had an 8-inch board directly under my cakes and placed all of that onto a 10-inch board.
- There was one churro cake where the ganache drip just ran off the cake and was totally too thin. I had it too warm. I learned to make that at the beginning of any assembling ventures to give it plenty of time to cool to room temperature while frosting and freezing the other parts. If it was still too warm, I stuck it in the fridge for a few minutes.
- You also will want it at room temp to put in the mousse.
- Also for the drip, I dripped along the outside edges and then filled in the center. That was easier for me than spreading it from the middle out, but to each their own!
- All of my practices at home were with my hand mixer. I do not have the counter space for a stand mixer, so although I am drooling over the new Kitchen Aids with decorative bowls, I stuck with my hand mixer and counted it as my bicep workout.
- I used my sweet Mother-In-Law’s stand mixer while I made the real deal since she has one and kindly agreed to let me use it. There was no notable difference between the two!
- Also, Courtney has the best technique for getting your cake disk off of your cake. Just use a paring knife to slice underneath so you don’t have any breakage or frosting trying to come with your disk.
What cakes are your favorites? I’ve been dying to try some more! Let me know in the comments and I’ll make them! …or, I’ll at least try to haha
Get even more cake making and decorating tips from Madison, who worked in a bakery!
-Tara
Follow us on Instagram (thisbluedress_eats) for more food inspiration!
Tara amazing job!!! You’re comments are the best, you and be cracking up!! Thank you for sharing everything you learned! So helpful!
*had me cracking up ?
The wedding cakes turned out perfectly Tara! You did an incredible job. I am so proud of you and the beautiful cakes that you created for MaLee’s wedding. They looked and tasted better than any we could have had done professionally. Your beautiful and delicious cakes were definitely a highlight of the wedding.