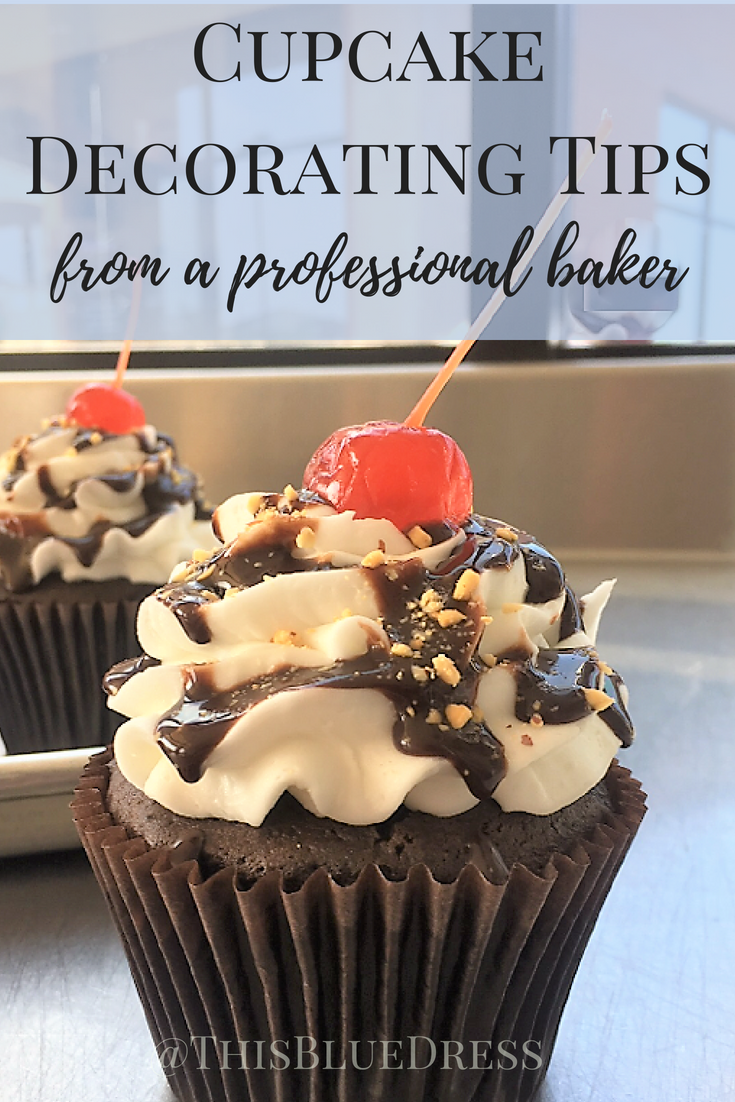
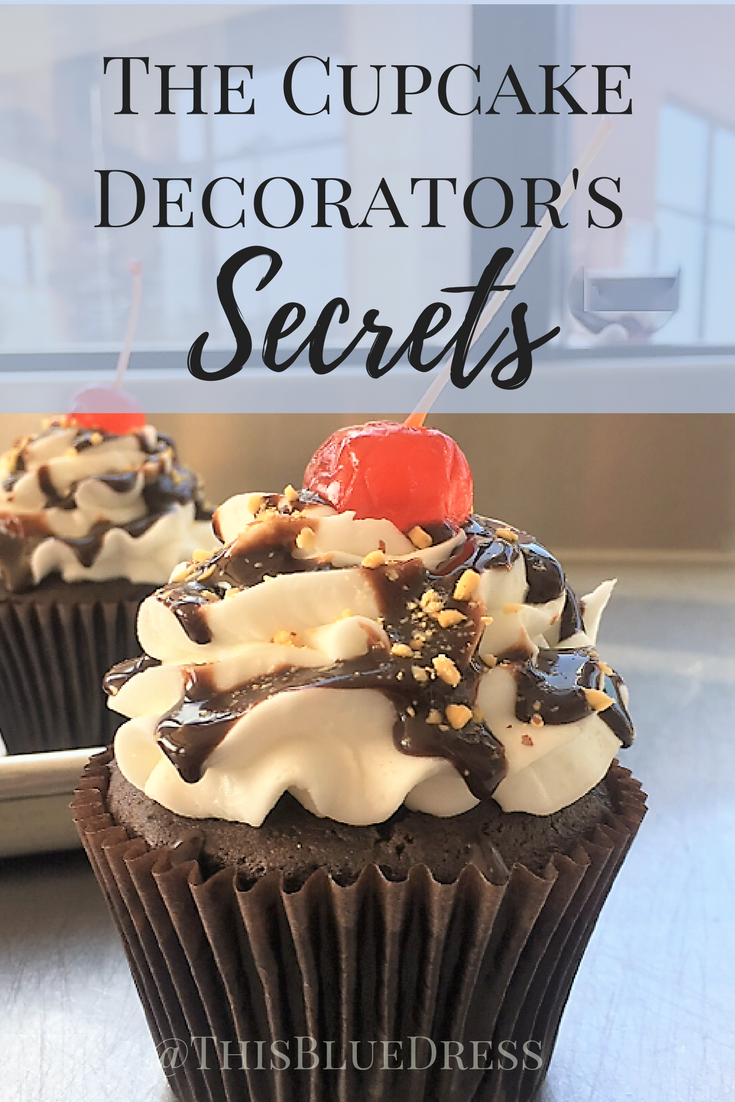
Welcome to the vault of all cupcake decorator secrets! You have been chosen worthy enough to receive tips from one of the top cupcake franchises in the country (which shall remain anonymous).
WHY Y’ALL SHOULD LISTEN TO ME
Just to give you insight into a cupcake decorator’s life let’s start from the beginning. The VERY beginning. At 3:15 am, Madison would get up and shower before work. Being clean before starting any baking is key. At 4:00 am, Madison arrives at the store and immediately turns the oven on to warm up. 4-9 am is all baking, making frosting, and prepping the store for the day. Our store’s secret? Everything is made in the store and BY HAND.
You heard me. No electric mixers, no industrial-sized mixing bowls; just our baker arms, a bowl, and a whisk. I made about 300-500 cupcakes every day depending on the day of the work, orders, etc. Made, placed, and decorated each of those cakes.
But what exactly happens between 4-9 am? Well, that’s where I come in. I am officially RETIRED from the cupcake business and the tips I am about to share with you took me months to learn. I do recommend practicing these a few times before committing to using them at you kids’ birthday party or a wedding. Baking is not like cooking. You have to get it right or it is wrong. Not a lot of room for error. So practice these tips, and if you find something works for you, then DO IT.
PRO-TIP: Just know that you are not going to make the best cupcakes on your first try. It takes a little experimentation! But that’s okay, it’s tasty!
Note: We use “pounds” in the cake business. Just check your box or your recipe for how many pounds/ ounces you are making and convert.
*This post contains affiliate links, so I’ll get a small commission on purchases at no extra cost to you. Thanks for supporting This Blue Dress.
Makin’ Dat Cake Do(ugh)
- Find your favorite dry mix. It doesn’t matter if you are buying Betty Crocker’s Super Moist Cake Mix or doing it completely from scratch, just know that you are probably not going to make the best cupcakes on your first try. It takes a little experimentation. Find one you like and stick to it
- DO NOT be afraid of the oil. If the box calls for 2 cups of water, put 1 cup of oil. Oil is going to be your best friend when it comes to making a moist cake. And dry cake is our enemy in the cupcake business. So replace half of the water with oil.
- Replace any milk with sour cream and if the box doesn’t call for it, ADD IT ANYWAYS. Sour cream is THE secret ingredient of a good cake. I hate sour cream, but I promise you will not taste it at all. (Unless you are Maegan O’Loughlin.) Add 1 tablespoon for every 3 pounds of mix
- When making chocolate cake: add just a tablespoon (for every 1 ½ pounds) of this: chocolate pudding powder! It is magical. It makes the cake way more rich.
- When making vanilla cake add this: vanilla bean paste (just a tablespoon or two to add flavor). It even gives a look to the cake to make them “real” vanilla! Those black specks will make your cake true vanilla bean.
- Whisk til your arm falls off. You want a real nice sheen to the batter. Beat by hand for at least 3-5 minutes, the machine for 2-3 minutes. You want it kinda thick.
Insider Tips For Better Results (it’s about the little things)
- Always always always use cupcake liners. They are pretty, easy, and keep your pan nicer for longer
- Use an ice cream scoop with the deluxe lever to scoop your batter into the liners. You can measure how much you are putting into each cup, and it is easy to dispense into the liner
- Remember this: the smaller the cupcake the MORE FULL YOU WILL FILL THE LINER.
- Example:
- Mini cupcakes – the liner should be ALMOST full before baking
- Medium cupcakes (regular sized)- the liner should be a little more than halfway full before baking
- Large/Jumbo cakes should be just barely above the line of the pan.
- Think: the more batter in the liner, the more it will rise. Simple math!
- Example:
- Wait until ¾ of the time then check at 2-minute intervals. You should use your finger (clean it!) to lightly tap the top of two cakes. You want the hot cakes to be ”bouncy”. If your finger goes into the cake a bit, they are not done. But if the cake is a sponge-like consistency, you’re good! No more using a toothpick to check the batter, this method will keep your cake moist.
- LET COOL BEFORE FROSTING.
How To Successfully Frost
- Invest in a few nice metal tips for your decorating. They aren’t hard to clean and so much easier to use than the plastic ones.
- But buy DISPOSABLE frosting bags. Bags are NOT easy to clean, and you can cut the bag to whatever size of tip you are using.
- When using these: cut the corner off of the bag. Don’t cut too far! You should put the metal tip into the bag and the metal piece should be sticking out of the corner now. If you cut too far your metal tip will fall out! If you don’t cut far enough, the frosting won’t come out in the design of the tip. Just cut slowly and keep checking how far back the bag sits.
- Your frosting should be mixed well. Do not put frosting into the bag that you have not mixed up. You will get air pockets into your bag and the design will look bad!
- Practice frosting on a piece of wax paper until you feel comfortable doing that design on the cake. It is easy to scoop, bag, and practice as many times as you want so that your cakes look store bought!
How Cool Can Your Frosting Be…
Want to vamp up your frosting? Follow some of these tips:
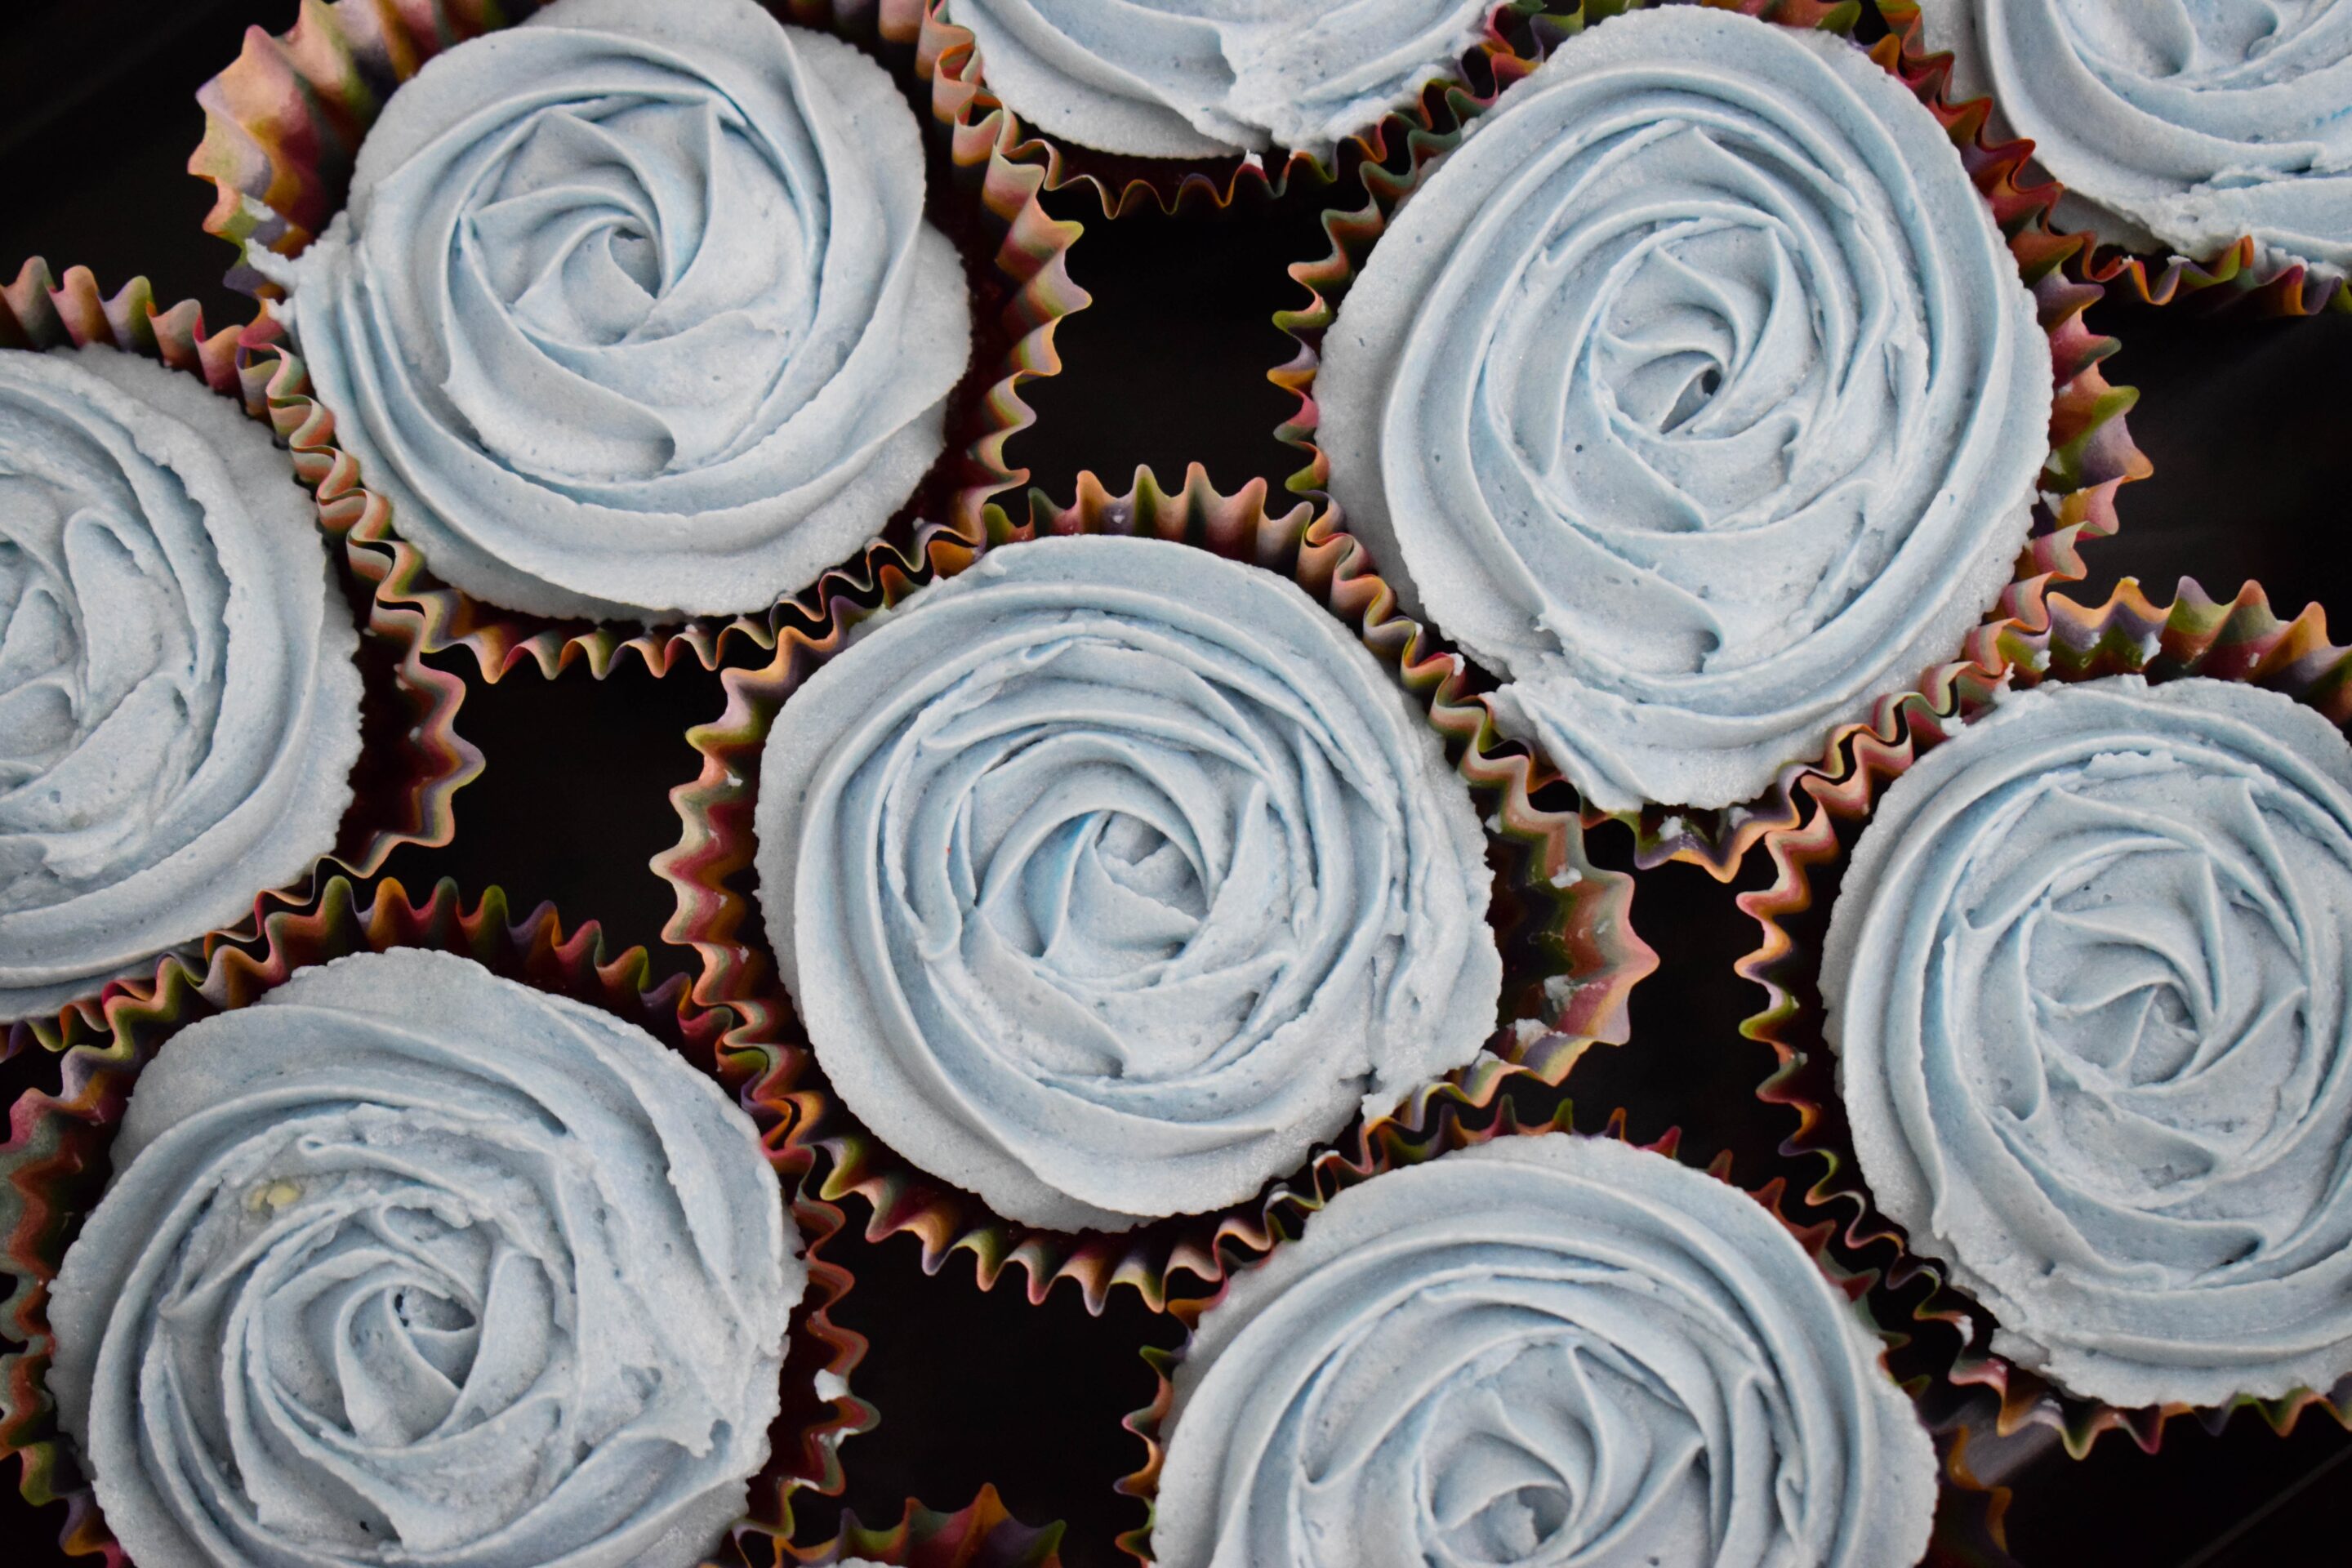
- Food coloring is your friend! Any vanilla cake or frosting is easily transformed with a bit of food dye. Match the color to your theme!
- Find a brand of vanilla frosting that you like and use this as your “base”. Frosting is not easy to make and you can make TONS of frosting flavors from this base. Add in jam to make grape or strawberry buttercream! Add in Oreos to make oreo buttercream! Peanut butter buttercream! The options are limitless!
- Consider your garnish when choosing a tip for your frosting. Fruit pieces, cookies, and other large garnish pieces do not sit well on tall frosting. Opt for a round tip (flatter cake topping) instead when using these toppings.
Garnish in a timely fashion!
- If your garnish is sprinkles, cookie pieces, etc. put the garnish on RIGHT after frosting so your garnish will stick to the cake
- If your garnish is fruit or anything wet, try to garnish just before serving so the juices and liquids don’t cause your cake to fall apart
Hope you found some helpful tips! I’d love to hear about your cupcake baking adventures!
Try out your new cupcake skills with the homemade cake options in this post!


Love these tips! Thanks for sharing 🙂
You are so welcome! We love sharing our baking tips with everyone. We all deserve delicious treats.
Hi! I want frozen cream frosting after used it. How possible it. Pls inform.
Thank you so much for your wonderful tips for making beautiful cupcakes. Can’t wait to try them for our daughters upcoming wedding! You are awesome!!?
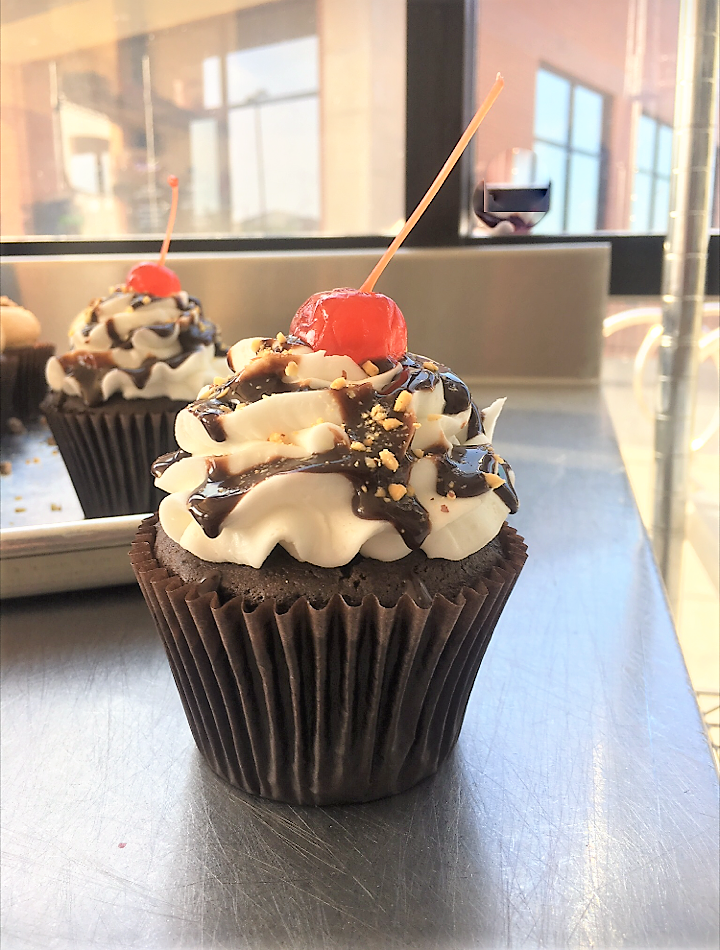
The chocolate cupcakes that look like an ice cream sundae? Yum!!!
They are heavenly. These fudge filled cakes are delicious and fairly easy to make!
Ok – this post is GENIUS! Any sort of cake decorating is a major challenge for me. I always try and use the plastic bag trick instead of nice metal tips but I’m totally going to go out and buy some! – Becky / http://www.roseandbrose.com
Becky, I was a fresh high school graduate when I started cupcake decorating. It is so much easier with nice metal tips! Keep following us for future posts/videos on how to master cupcake decorating!
Hi! I know you posted this a while ago but what size cupcake liners do you use? Thanks!
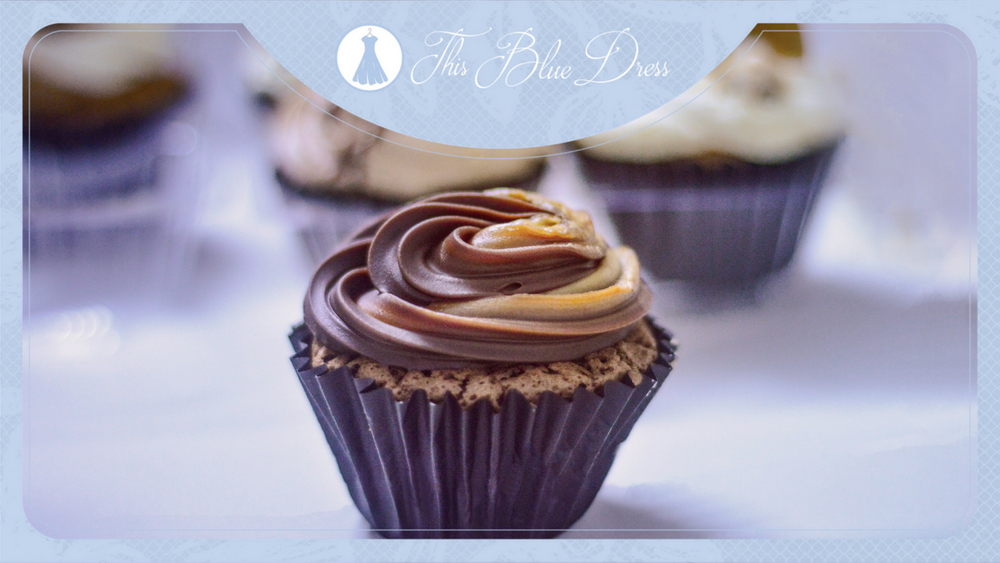
Love this post! I wish I was better at decorating cakes/cupcakes, haha. Also, that chocolate cupcake looks so pretty!
Tami, cupcake decorating is much easier than it looks! Stay tuned for videos on cupcake decorating!
These are amazing tips! I can’t wait to try some of them out with my girls. I feel like I really got the inside scoop! Thanks for sharing.
You are so welcome! I hope you enjoy baking and decorating as much as I do by the end!
No wonder bakery cupcakes taste so much better than the ones we make at home! The next time I make cupcakes I’m going to follow your tips.
Beth it is seriously all about the oil. Don’t be shy to get unhealthy with your baking 😉
Love the sour cream tip! I remember years ago trying to perfect a copycat recipe and the one that called for sour cream was THE best one!
I cringed at the thought of sour cream in a dessert but you cannot taste it and it creates a texture that is amazing!
Great Tips! Especially on how full to fill the liners for mini, regular and large cupcakes!
I like my frosting coloured. Although, I tend to avoid food colouring and I try to get the colours our of fruits.
Cristina that is a great idea! I am not a huge fan of red dye since it has been proven to cause seizures. Natural is the way to go, nicely done!
Great tips. It’s been so long since I’ve made cupcakes, I need to make some again and use these tips.
Lisa, as you smell these baking in the oven you will be so glad you decided to follow this! Thanks for visiting This Blue Dress!
AMAZing tips. Most are new to me. So, this is a treasure trove I’m sharing with my baking expert friends for sure. Gives me points for sharing great content too . hahaha. Thank you so much for sharing your expertise . I cannot get over you making 300+ cupcakes evvery day.
Thanks for the great tips! Cupcakes are always good to know about!
I LOVE baking and cupcakes are one of my faves. These tips are genius and I am so glad you shared them. I hope next time I make some they taste as good as yours look!
I LOVE these tips, they will definitely help me up my cupcake game!!
Are you saying to only use oil, no water? Thanks
Hey Susan, thank you for your comment! You will still want to use water in your baking. At the bakery, we increased the oil amount by replacing half of the water with oil. For example, if it calls for 1 cup of water and 1 cup of oil, we would change it to 1/2 cup of water and 1 1/2 cups of oil. Just note that this ratio doesn’t work for double or triple batches. You’ll want to decrease the amount of oil for bigger batches